
Foundation Paper Piecing for Beginners
Have you ever looked at Foundation Paper Piecing (FPP) and thought, I wish I could do that? Well luckily for you it’s actually easier than you might expect! It might take a couple of tries on your first blocks, but if you go slowly - and keep your seam ripper and a supply of chocolate handy just in case - it can be a wonderfully rewarding technique with lots of benefits. It uses machine stitching to sew fabric to paper templates which are later removed, building up complicated shapes with ease. It’s actually not dissimilar to paint by numbers as you simply follow the order on the templates!
So why try it?
You can make super precise and detailed designs
Matching points perfectly across seams is so much easier as the templates do most of the work for you
Create intricate shapes without those potentially tricky partial or Y seams
Expand your quilting skill set - just look below at what I’ve used it for!
Ready to give it a go? Read on for step by step instructions (with lots of photos) and a free heart block pattern!


You will need
Makes 1 block: finished size: 9” x 9” // unfinished size: 9½” x 9½”
Fabric
One Fat Eighth (F8) of Heart fabric
One Fat Quarter (FQ) of Background fabric
Templates
One each of Heart Block templates A & B
This is a Pay-What-You-Want pattern - download for free and send an optional tip to my Ko-Fi page
Tools
Rotary cutter and cutting mat
1/2” ruler (if you don’t have one any ruler with 1/4” markings will be fine)
Postcard
Pins
Seam roller or iron
These instructions can also be used to help you make any of my FPP patterns including the Ashley’s Star Mini, Ashley’s Star Quilt, Mountains Reflections and the Linework Quilt.


Preparing your templates and cutting your fabric
Step 1
Download and print the templates at 100% (“Actual Size” or “No Scaling”), checking that the 1” test square accurately measures 1” when printed.
Step 2
Cut out the templates including the ¼” seam allowances (shown as a dotted line).
Top tip: To make piecing easier, pre-fold the template along the solid stitch lines before you begin to sew using a postcard or thin ruler.


Step 3
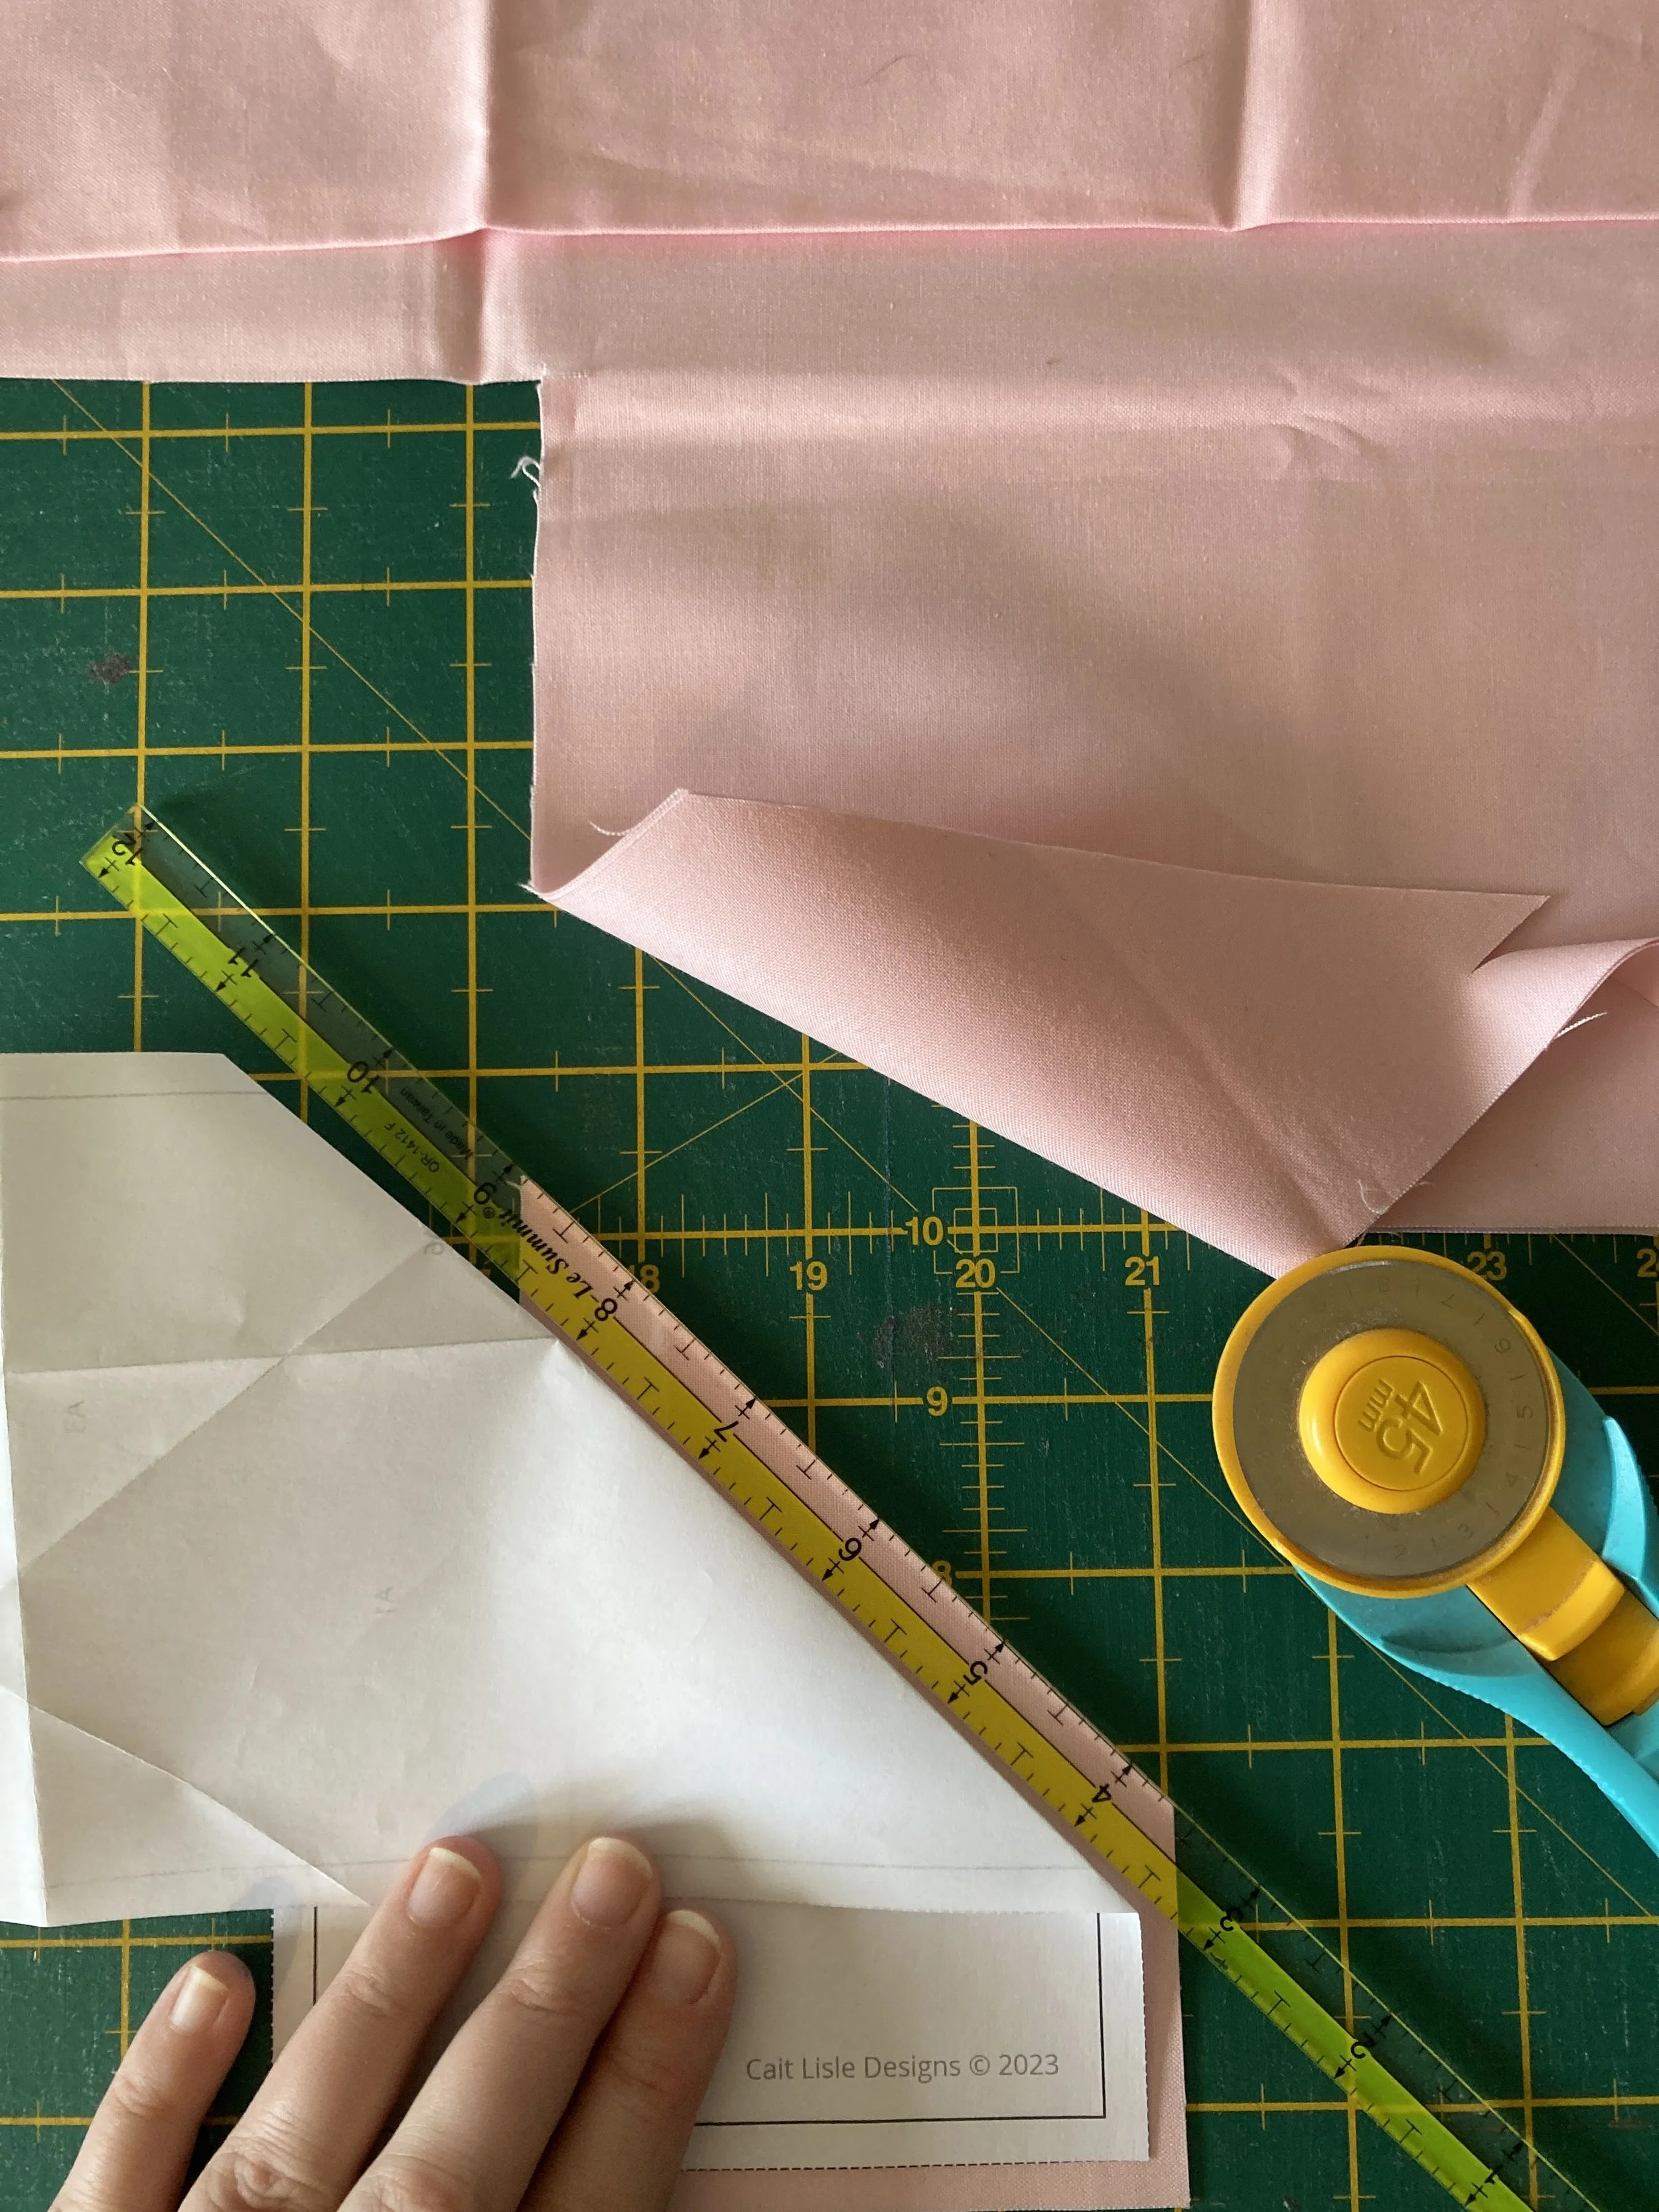
Lay template A on the wrong side of the fabric to be used in section A1. Cut around the outline of section A1 plus an additional ¼”-½” seam allowance. Repeat for remaining template A sections.
Top tip: In mirrored pieces like templates A and B, you can cut both sides at once by folding your fabric right sides together and cutting as normal. This will give you two mirrored pieces - one for Template A and one for Template B!


Step 4
Repeat for template B sections.
Piecing your blocks
It’s important to remember that you’re working upside down and back to front when doing FPP - the fabric needs to be right side down and facing away from the paper and the sewing lines need to be facing up for you to stitch along. Take it slow and check your fabric placement and orientation regularly to minimise unpicking!
Top tip: Use a light box or hold the piece up to a bright light to ensure you have a minimum of ¼” seam allowance around the section you are piecing.
Step 1
With fabric right side away from the paper, place A1 fabric on the reverse of template A and pin in place. Place A1 and A2 right sides together and align along the seam line, pinning in place.
Step 2
Using a short stitch (1.8-2mm), sew along the length of the A1-A2 seam line being careful not to stitch into adjoining sections. Backstitch two stitches at the beginning and end of each line to secure.
Step 3
Fold the paper template back along the sewn line and trim the seam to ¼” and press fabric pieces open with seam roller or iron.


Step 4
Fold the paper back along the A3 seam line and trim fabric to 1/4” seam allowance.
Step 5
Continue piecing, adding in the suggested order (A1, A2, A3, A4, A5, A6).
Step 6
Repeat with Template B.


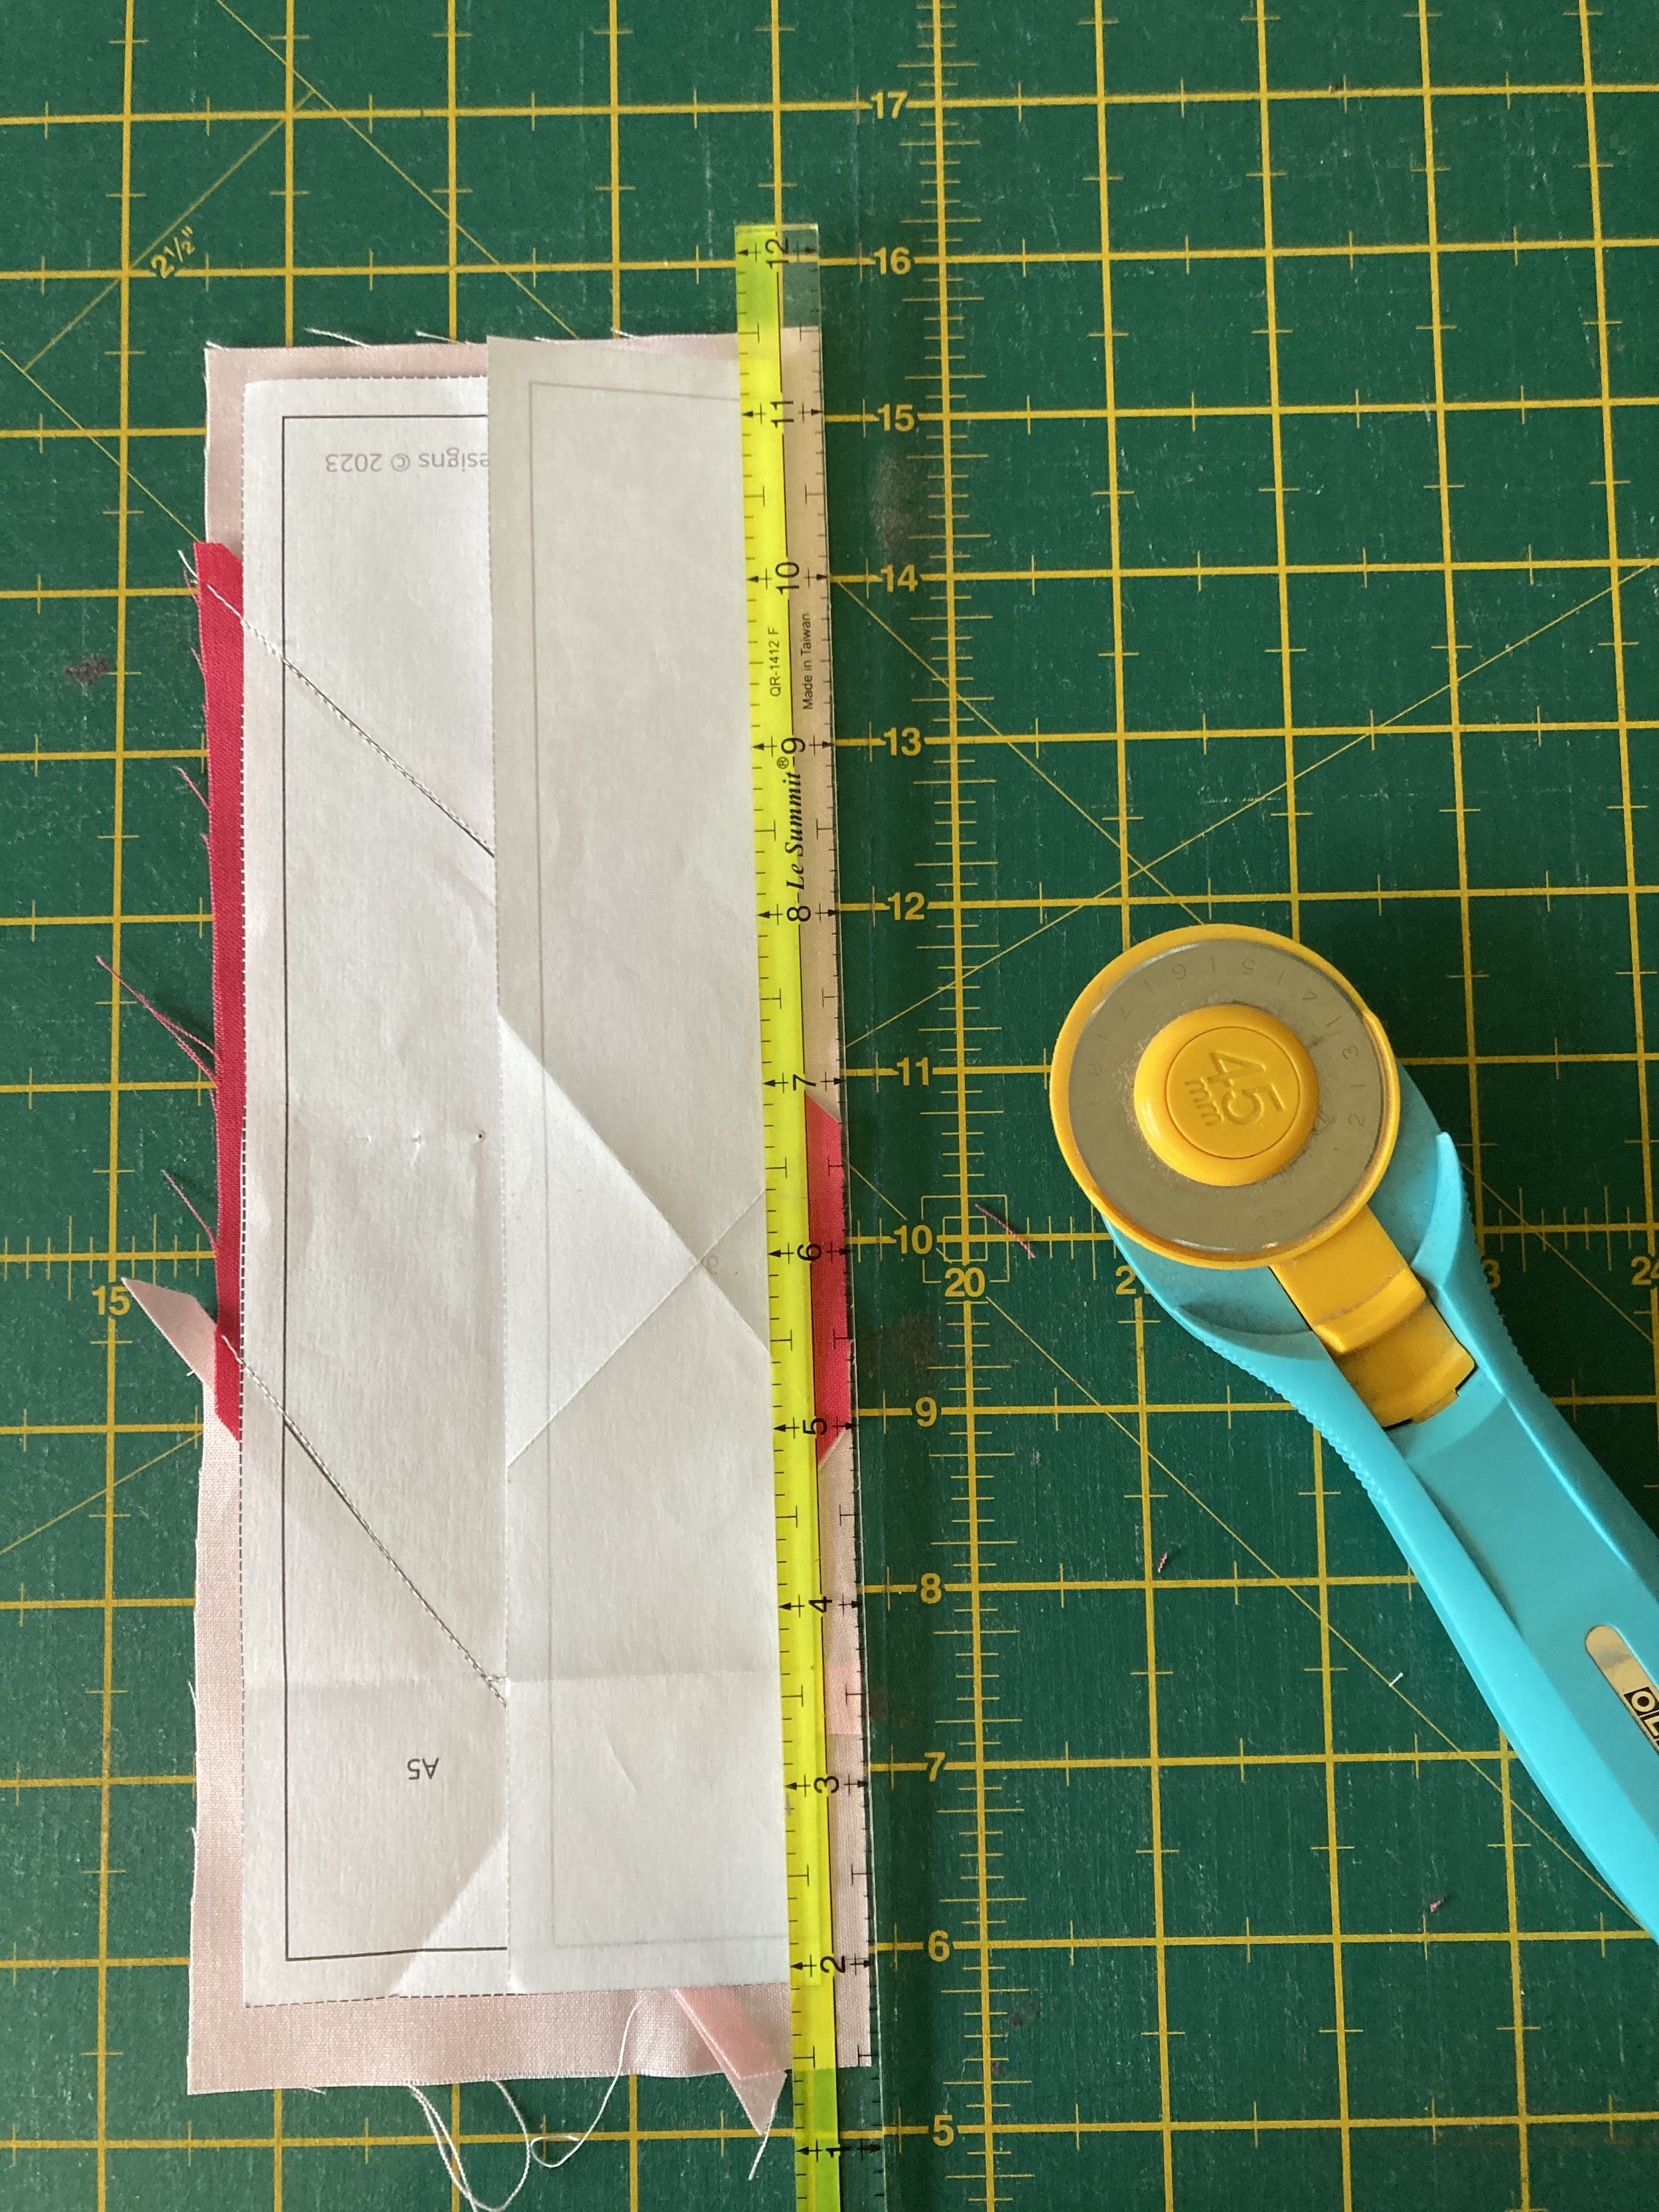

Step 7
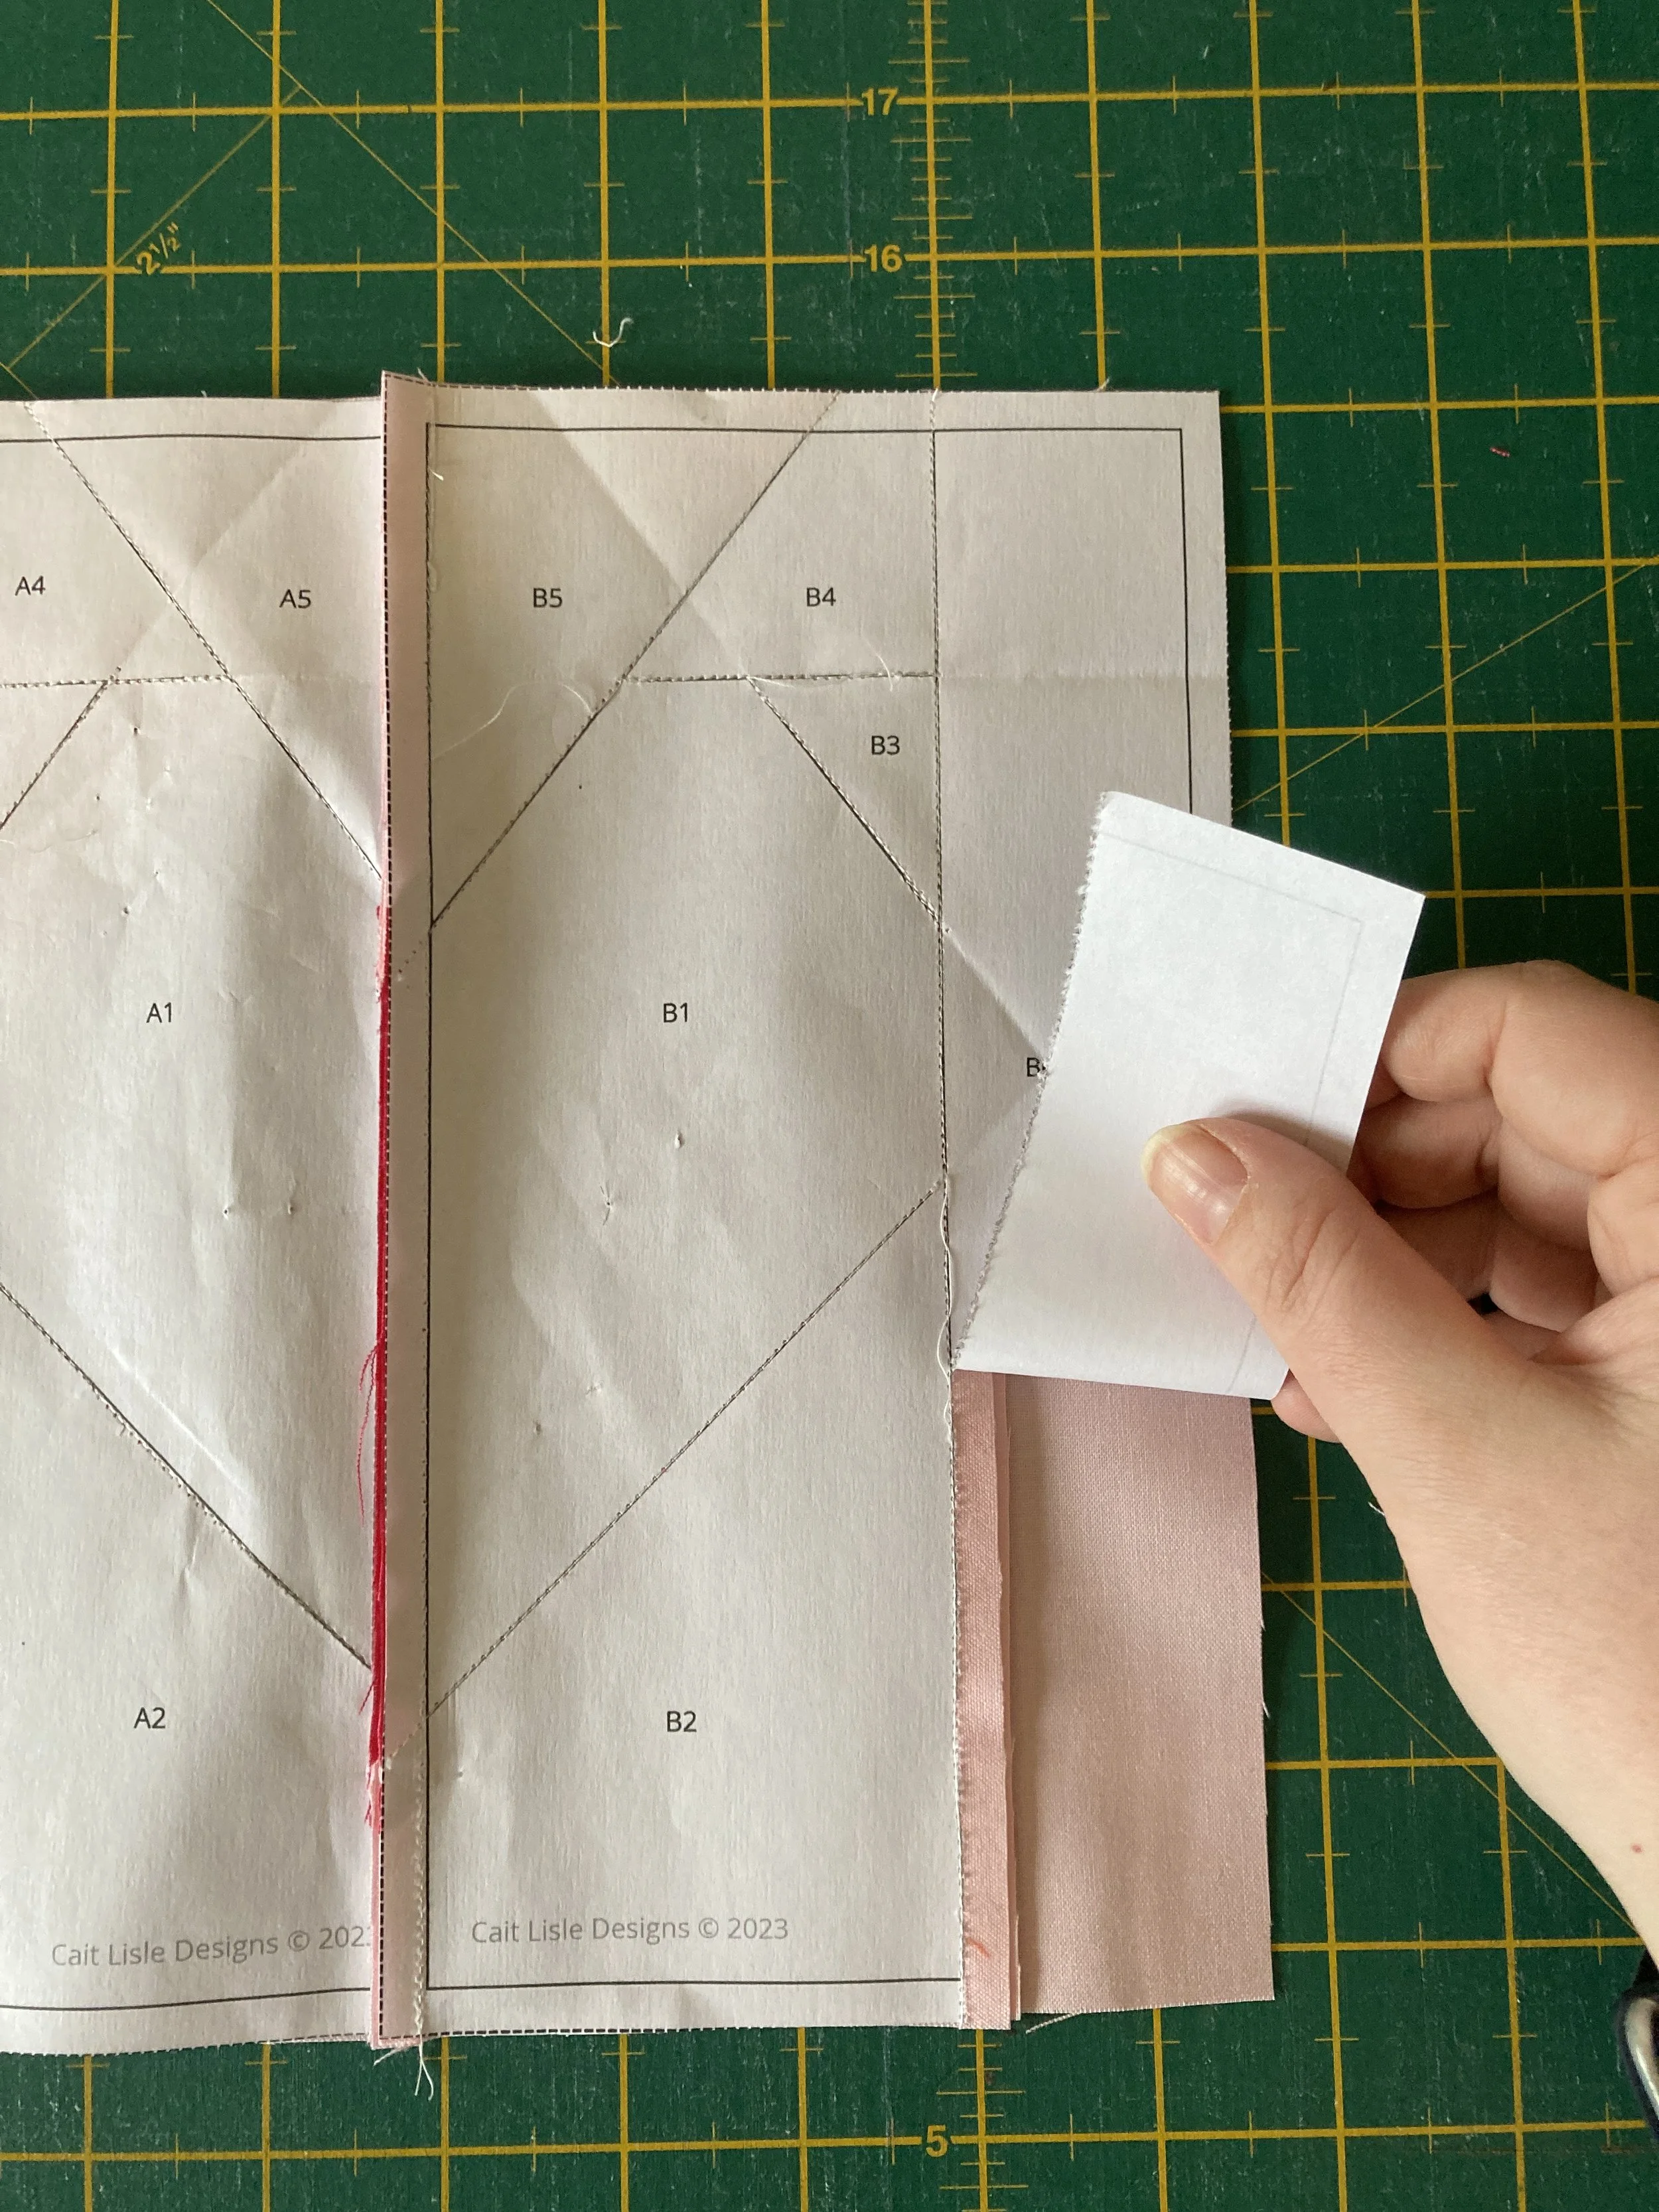
When you have pieced each of the templates, press the blocks with an iron and trim to the edge of the template. Assemble the block by lining up the pattern templates right sides together and matching the centre seam.
Top tip: Place pins in places you want to match exactly to help achieve perfect points
Step 8
Gently remove the papers and press the joining seam open.


And there you have it!
Have you tried FPP? Share your thoughts and questions in the comments below!