
Resonance Quilt
At long last, the Resonance Quilt pattern is here!
Inspired by the instant moment of joy created by seeing a perfect rainbow, the Resonance Quilt reminds us that small acts of kindness can ripple outwards to make a big impact. Built around a classic block, this modern quilt pattern is perfect for confident beginners and comes absolutely bursting with options.
There are instructions for three sizes included ranging from a fun wall-hanging (25” x 27”) to baby size (35” x 45”) to a large throw (60” x 72”) that’s perfect for curling up under. On top of that, there are four colourways including rainbow, monochrome, three colour ombré and scrappy so you can really make Resonance your own.
On top of this, the pattern is jam packed with helpful tips and diagrams and includes lots of ideas for different colour schemes and colouring pages to help you choose your fabric layout and colours, and best of all it’s Fat Eighth, Fat Quarter and scrap friendly, so grab that bundle you’ve been hoarding or head to your LQS for a little shopping - we all know you can never have too much fabric!


Choosing my fabric
When I was designing the Resonance pattern, the first colourway I mocked up was an extended rainbow (did you really expect anything else from this total rainbow addict?) and it just so happens my LQS had recently opened up pre-orders for the new Spectrastic II collection by Giucy Giuce. Of course I’d already ordered the full 20 FQ bundle, and so the wait for it to come into stock was torturous as I just KNEW it was going to be perfect for my Resonance sample! I padded it out with a few extra FQs from the original Spectrastic I collection and oh my gosh I fell head over heels in love as soon as I opened them up. This is definitely one of my favourite collections of all time and I could honestly sew with just this for a year and be totally happy.
The fabrics I used are in the Rainbow Resonance wall-hanging are:
Rainbow: Magenta // Rosalia // Mars* // Terracotta // Sunset* // Peach // Spicy Mustard // Bicycle // Mint Chocolate // Moss* // Seaweed // Spearmint // Turquoise // Dark Teal // Aquatic // Navy // Old Amethyst* // Raisin
Background: Dust*
Binding: Milk chocolate
*from the Spectrastic I collection


Making it your own
One of my favourite things about this pattern is just how many options it has! Different sizes aside, I wanted to make sure that I included plenty of ways to put your own colour spin on the pattern which is why there are four colourways for you to choose from.
Extended Rainbow
Rather than stick to the traditional seven colour ROYGBIV rainbow, the first colourway I included is an Extended Rainbow colourway which uses two shades each of my personal favourite nine colour rainbow:
Pink // Red // Orange // Yellow // Light Green // Dark Green // Light Blue // Dark Blue // Purple
You just can’t go wrong adding more rainbow to a rainbow!
Monochrome
The Monochrome colourway packs a real punch with just one focus colour and background fabric, and is perfect for using up lots of scraps in one colour - I’m making an all-pinks Strawberries and Cream version using just my scraps pile that’s almost good enough to eat and has me dreaming of hot summer days.
Ombré
If subtle gradient shading is your thing, the Ombré colourway is based on a three colour repeat and would be stunning in ocean or sunset colours.
Scrappy
Resonance is the perfect scrap-busting project, but if your scrap pile isn’t quite big enough for the Resonance you’re dreaming of but you still crave that jumbled mix of prints and colours, this pattern lends itself really nicely to pre-cuts with just a little trimming:
Charm packs - just trim your squares down to 4 1/4” for plenty of four-at-a-time goosy fun
Layer cakes - you could get four squares (that’s 16 geese!) per 10” piece for a slightly more co-ordinated scrappy look
Jelly rolls - for one-at-a-time geese just cut 2¼” x 3¾” pieces from your strips


Fabric requirements


Colour inspirations
I know how much you all love switching up colours in patterns, so I just had to have a little play and came up with a few different colourways to inspire you! Still looking for more inspiration? I’ve got you covered - the pattern includes lots of ideas for different colour schemes and colouring pages to help you choose your fabric layout and colours for your perfect Resonance Quilt.


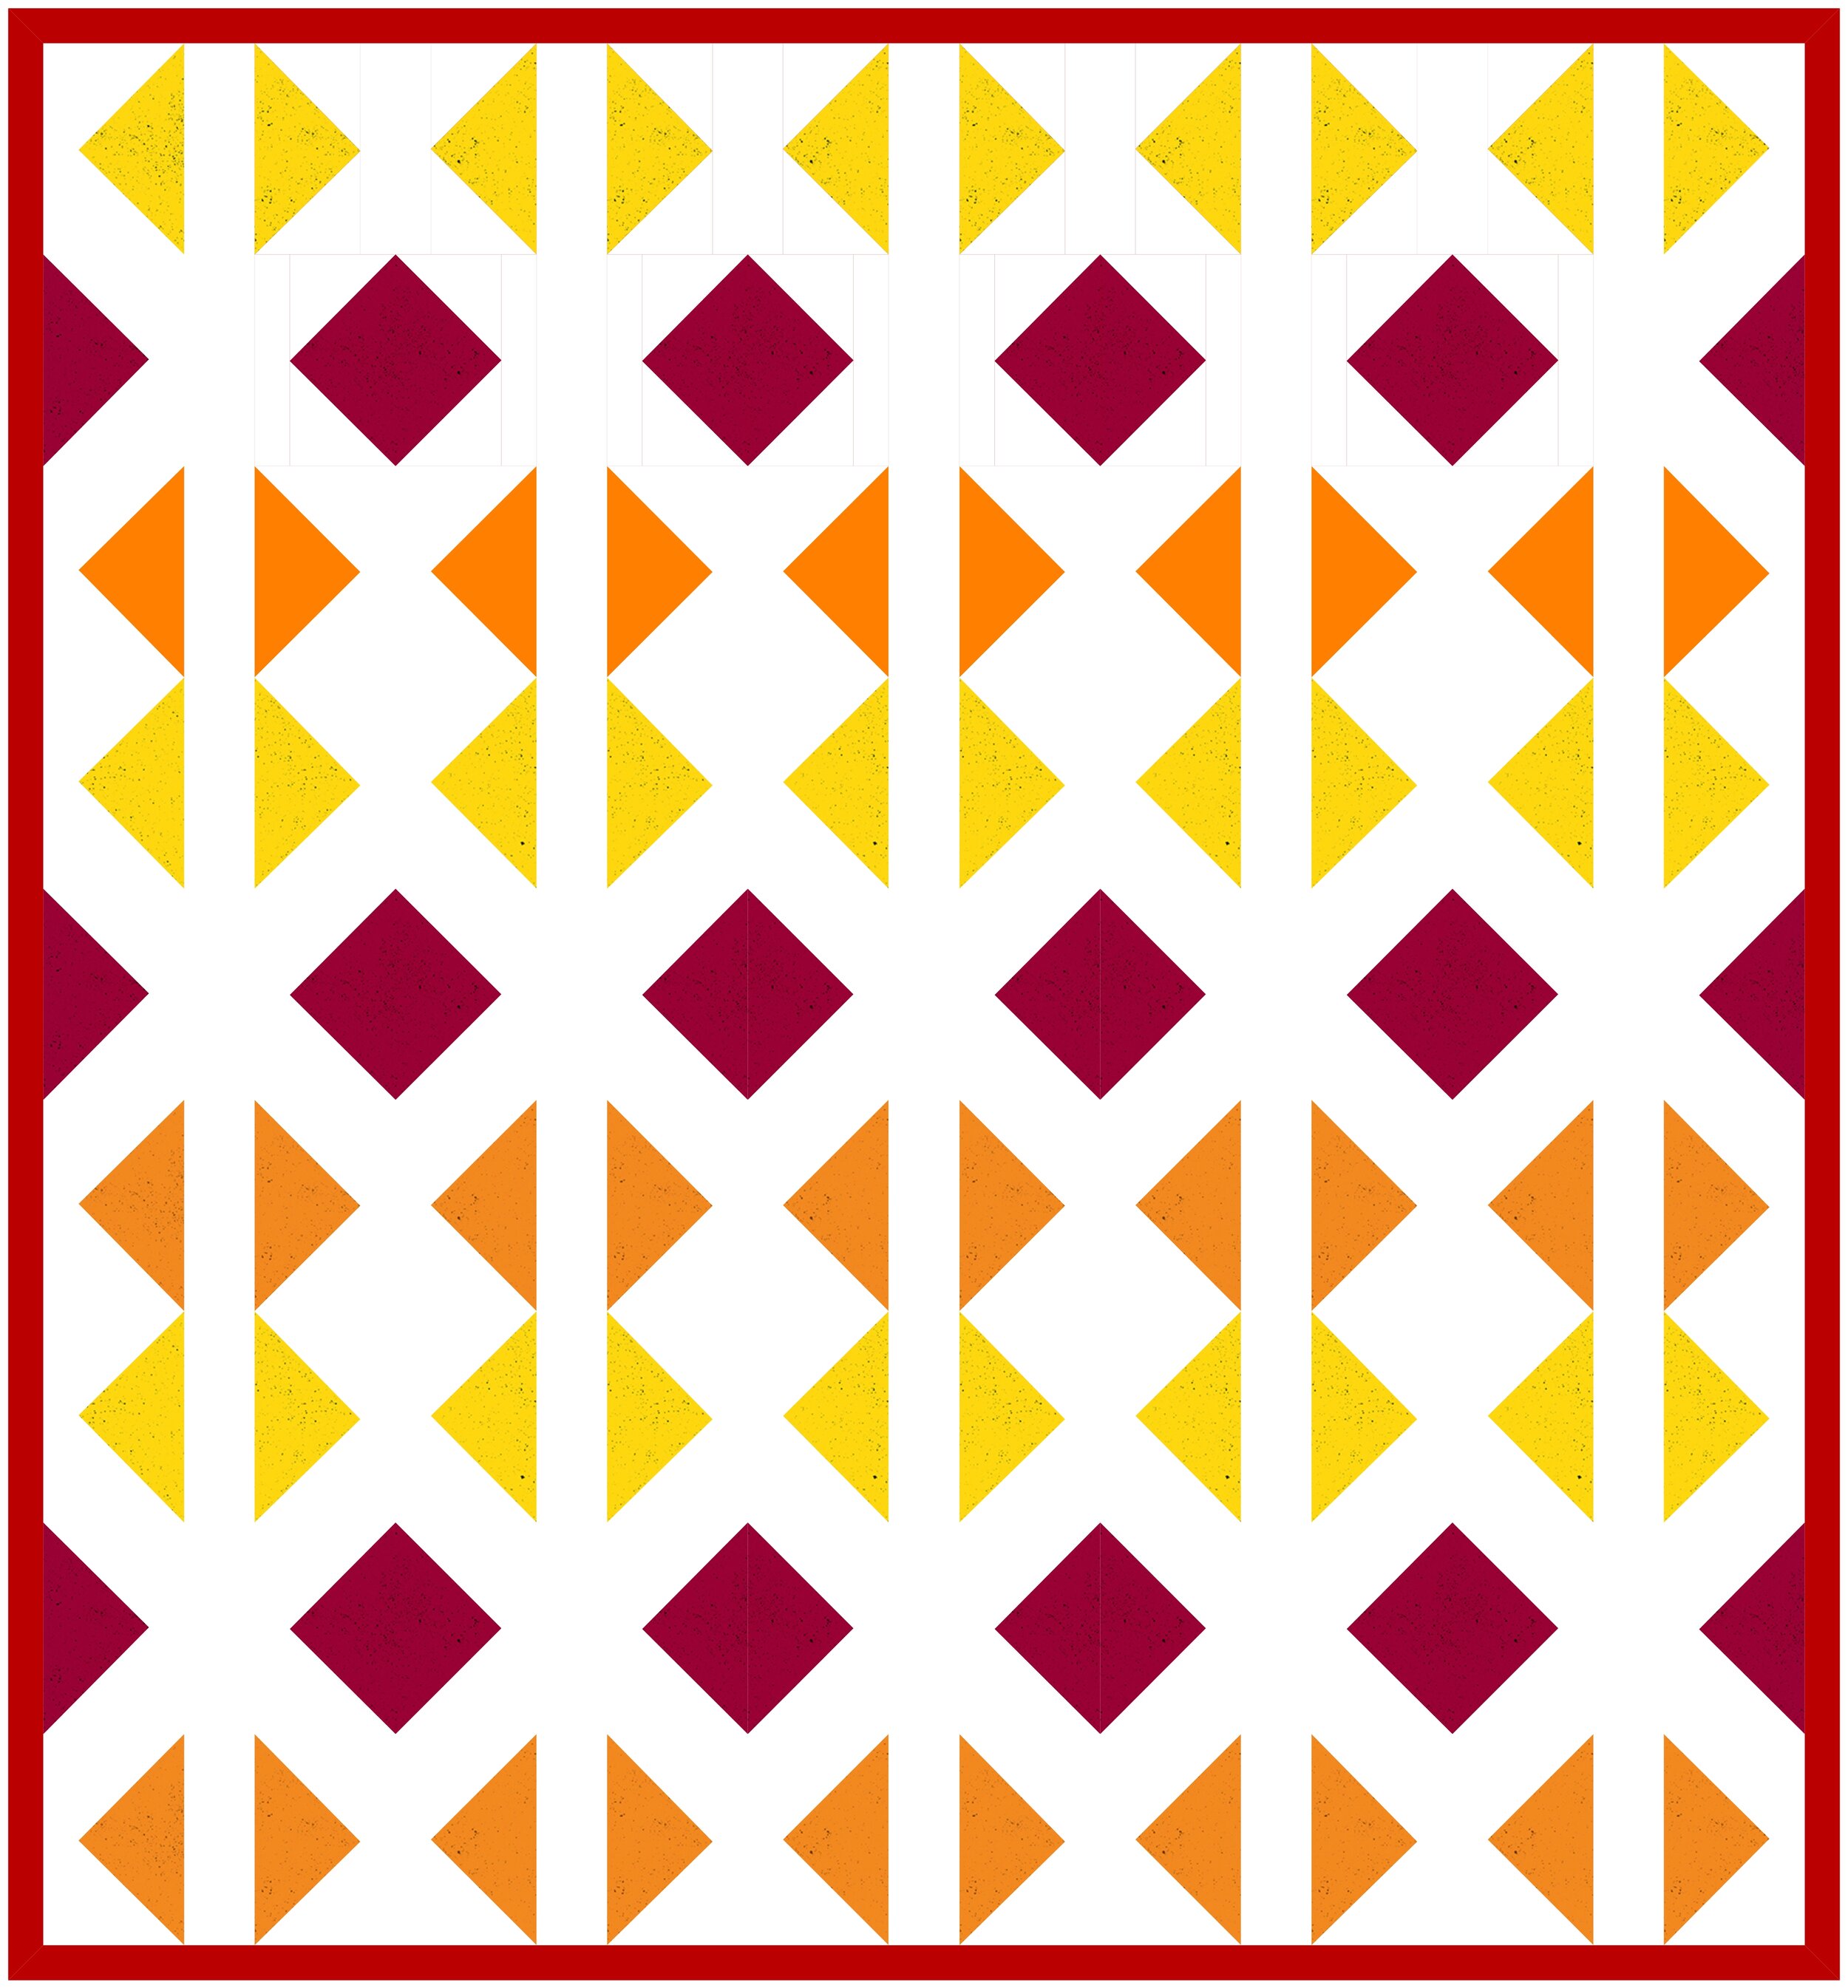
Piecing
While this looks like a complicated quilt, it’s actually built on the classic flying geese block (or should that be flying goose?) so it’s a lot easier than it looks. And who doesn’t love a pattern that looks more impressive to make than it actually is?
With step by step instructions and diagrams for one at a time and four at a time flying geese, even if you’ve never make flying geese before they’ll be flying off your machine in no time (sorry, I couldn’t resist!). Chain piecing is definitely your friend in this quilt, especially if you’re making one of the larger sizes - if you’ve not chain pieced before check out my previous blog for some handy tips to get you on your way.
As always, my cat co-worker Lyra was very “helpful” throughout the piecing process. She was especially helpful when I was tying to press my finished top - she’s an absolute fiend for my wool pressing mat and will do pretty much anything to sleep on it when it’s been pre-warmed with a few strokes of the iron.


Quilting plan
It took me quite a while to decide how to quilt my Rainbow Resonance as I was worried about doing justice to the pattern and fabrics! Eventually I decided on a combination of walking foot quilting with some hand quilted elements to add texture.
For the twisted three strand braid I used 28wt Aurifil in 2600 and spent some quality time with my walking foot after marking up with my Hera marker. My top tip for any machine quilted design involving lots of stop-starts like this braid is to bury your threads as you go - your future self will thank you when you get to the end and haven’t got to sit for ages burying all those loose ends!
I used 12wt Aurifil for the hand quilted details, with a matching 2600 for the columns and 1133, 4020, 2810, 1243 for the little squares that help make the design pop.
As you can imagine, this was a pretty time consuming quilting plan for a small wall-hanging, but I absolutely LOVE how it looks, and I also love the effect on the back - it’s like a whole other quilt! I really want to play with more wholecloth/minimalist quilt backs and complex quilting designs now.


And there you have it - the Resonance Quilt!
You can get your own copy of the pattern now by clicking the button below. Remember, I absolutely love to see your makes, so don’t forget to share your projects with #ResonanceQuilt and #caitlisledesigns!