
Hand quilting
As a modern quilter, it may be a little surprising that I’ve become a big fan of hand quilting. “That’s so traditional!” I hear you say, “How can you get that modern look you love sewing by hand"?” Well, I say modern quilting can be anything you want it to be!
Finishing a quilt by hand has so many positives -
It gives you time to slow down and spend some quality (quilty!) time with your make
Hand quilting adds an extra special touch to a gift
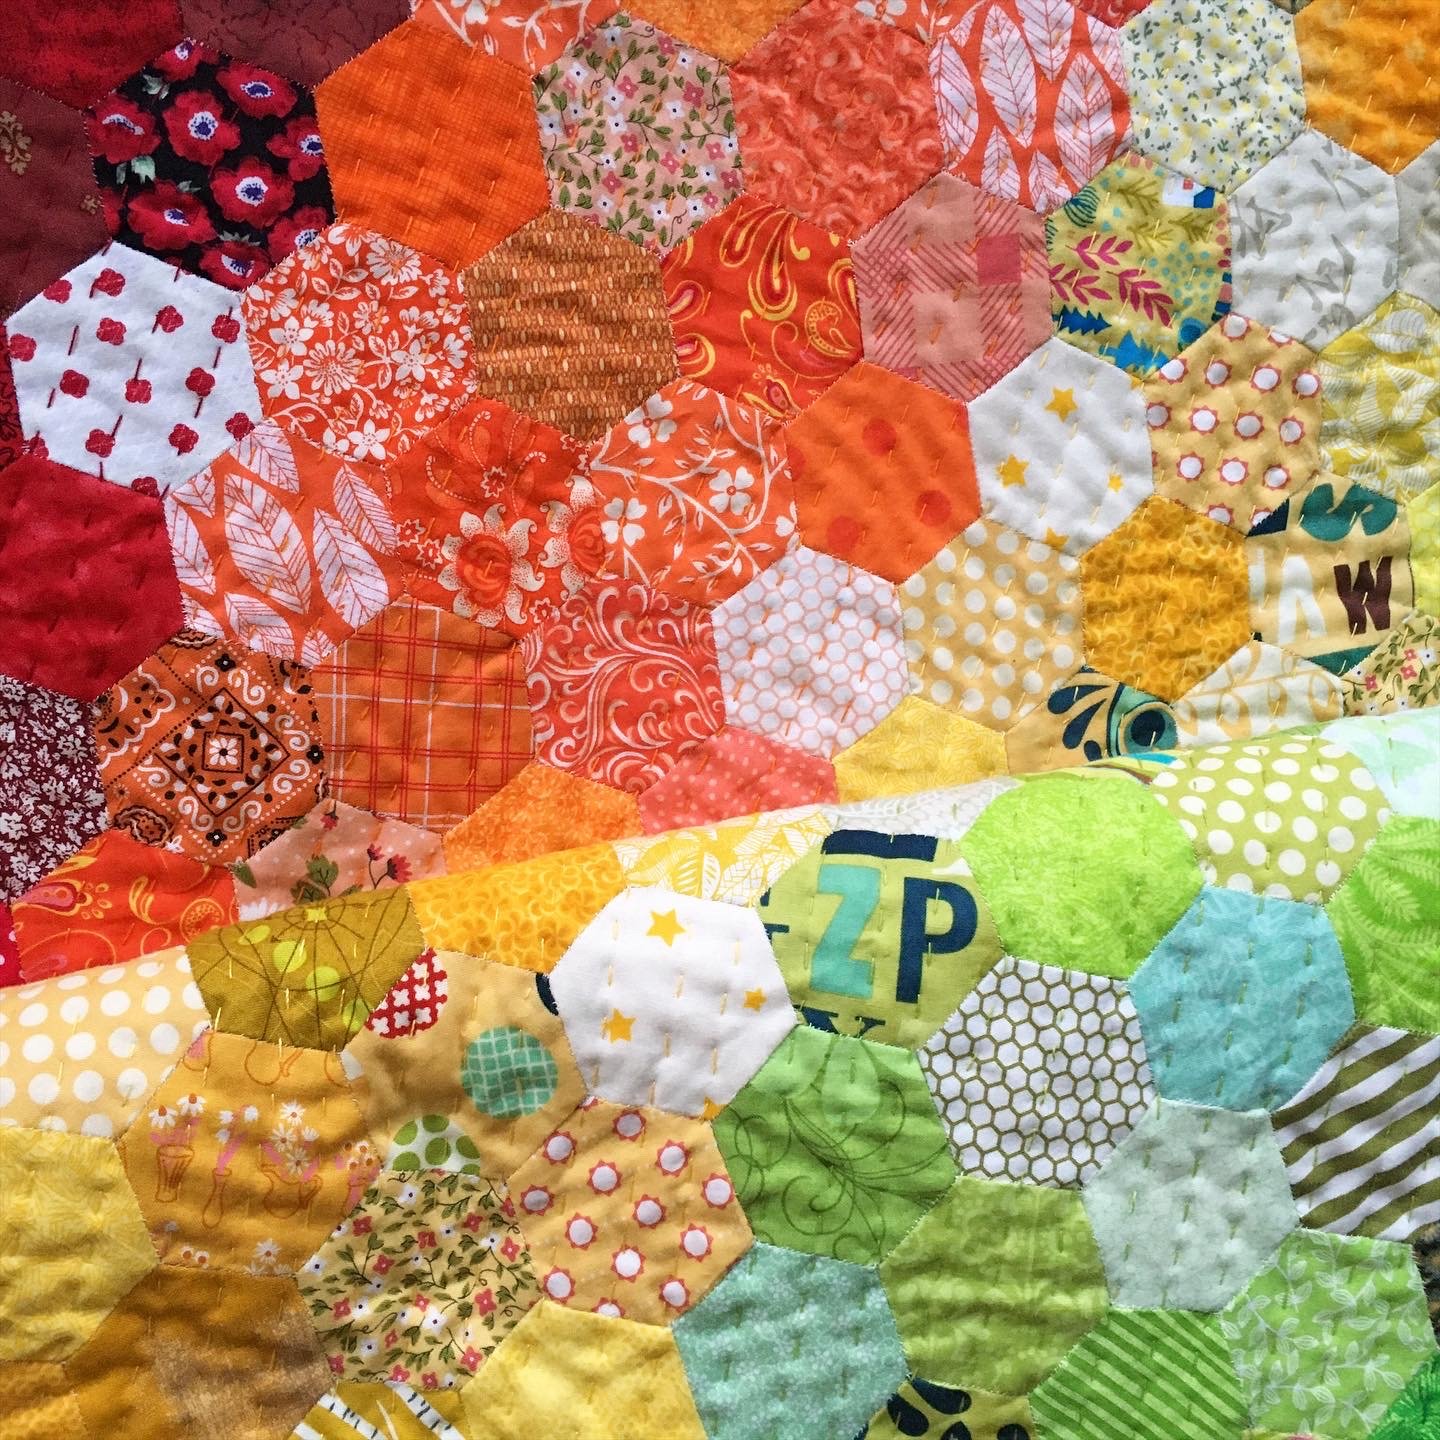
It can be a really simple and effective way to add lots of delicious texture to a quilt. It definitely adds to the “must stroke” factor!
Hand stitching lets you accent shapes and make the most of negative space without having to wrestle a whole quilt through a small machine throat space
It can be done on the sofa while watching TV and snuggling under the quilt before it’s even finished
And just as a scrappy EPP quilt can look traditional or modern depending on the fabrics and colour placement, the final look of hand quilting can be as modern or traditional as you want depending on your thread colour, weight and stitch type.

How to hand quilt
So now I’ve won you over to the magic of hand quilting, you probably want to give it a go yourself! Here’s my beginner’s guide to hand quilting to get you started.
Threads
When you’re hand quilting, your thread choice is going to have a big impact on the overall look of your quilt. The higher the weight number, the finer the thread (I know, it feels back to front to me too!) and the smaller your stitches will need to be. If the fine and delicate stitches of the traditional hand quilting style are your thing, head towards the 40 or 50wt threads. If you’re after bolder and more modern stitches in the “big stitch” style of hand quilting, you’ve got a few more options:
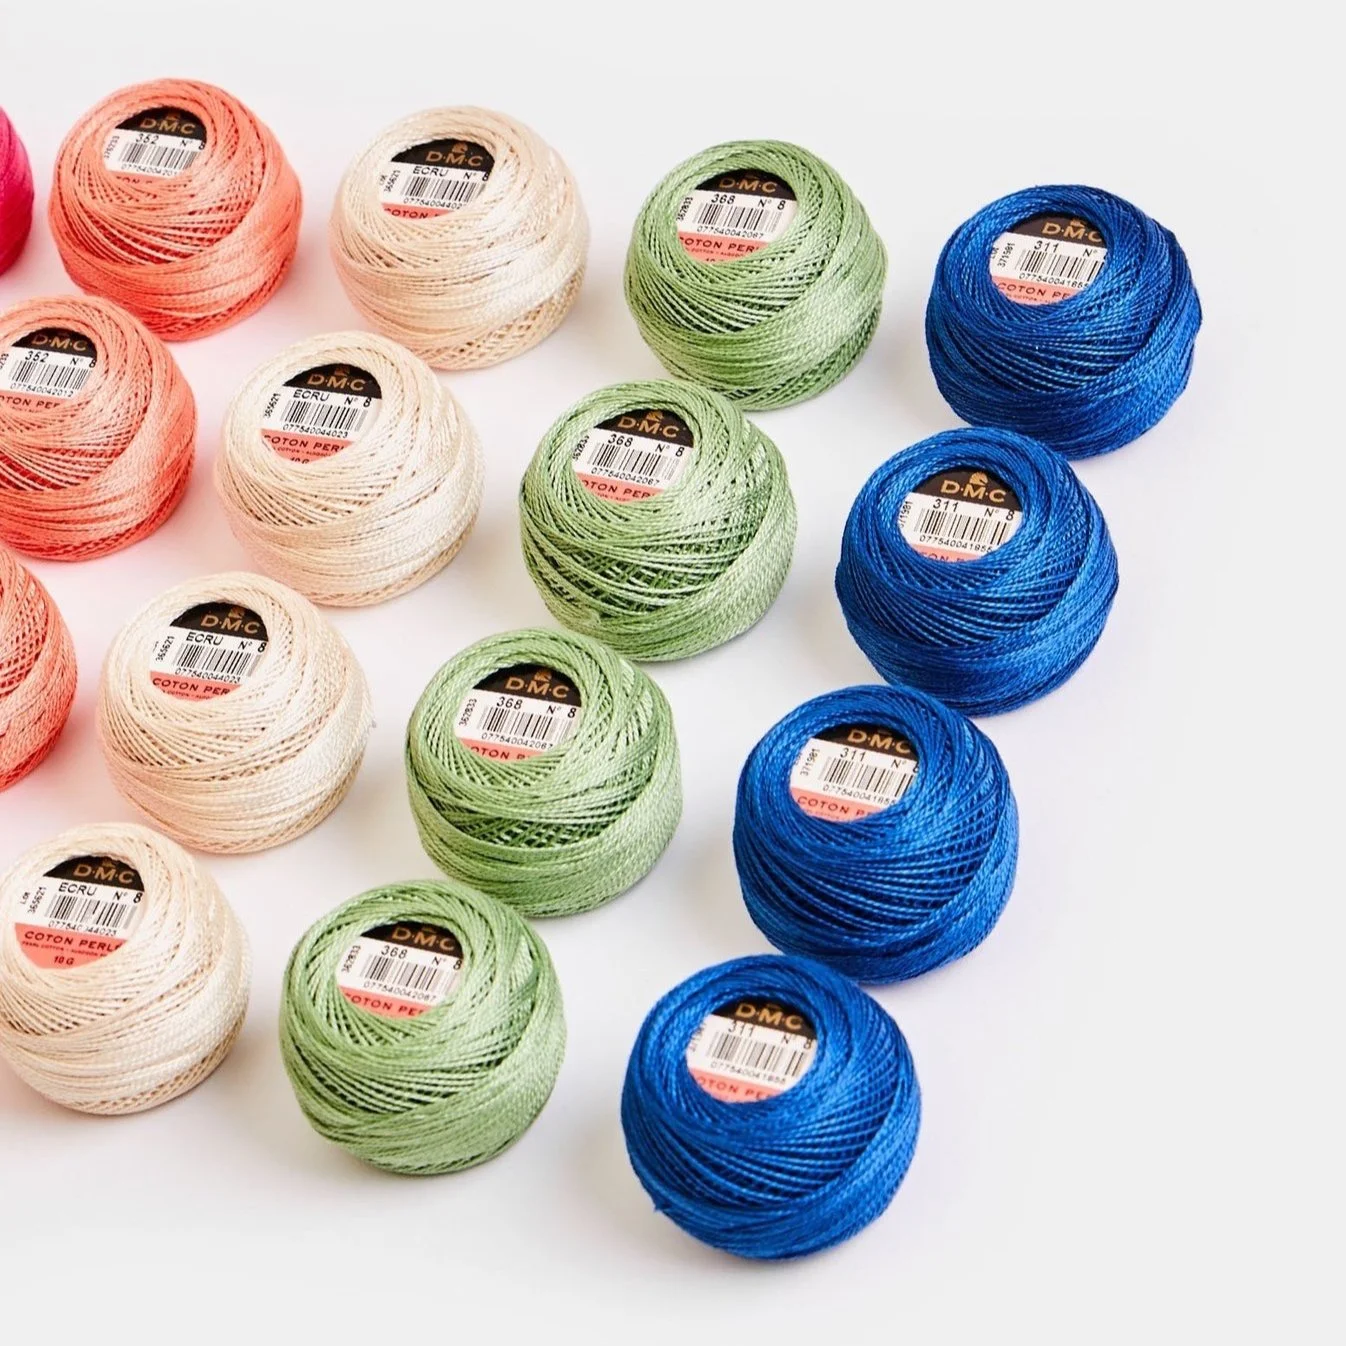
Pearl/Perlé cotton is a non-divisible thread with a lustrous sheen than comes in 3, 5, 8 and 12wt. The most commonly used is the 8wt as this has a nice thickness and gives good definition without detracting too much from your piecing. The biggest brand for this type of thread is DMC and you can buy by the skein or the ball.
For Aurifil fans, their cotton 12 wt is a non-divisible thread similar to perlé cotton. A little thinner than the 8wt perlé cotton, this thread still has a good definition and is great for adding that hand sewn touch without overwhelming your quilt design. Look for the red spools when browsing at your LQS, and you can buy 12wt in small or large spools - a small one is generally enough for a small quilt depending on how densely your stitching is).
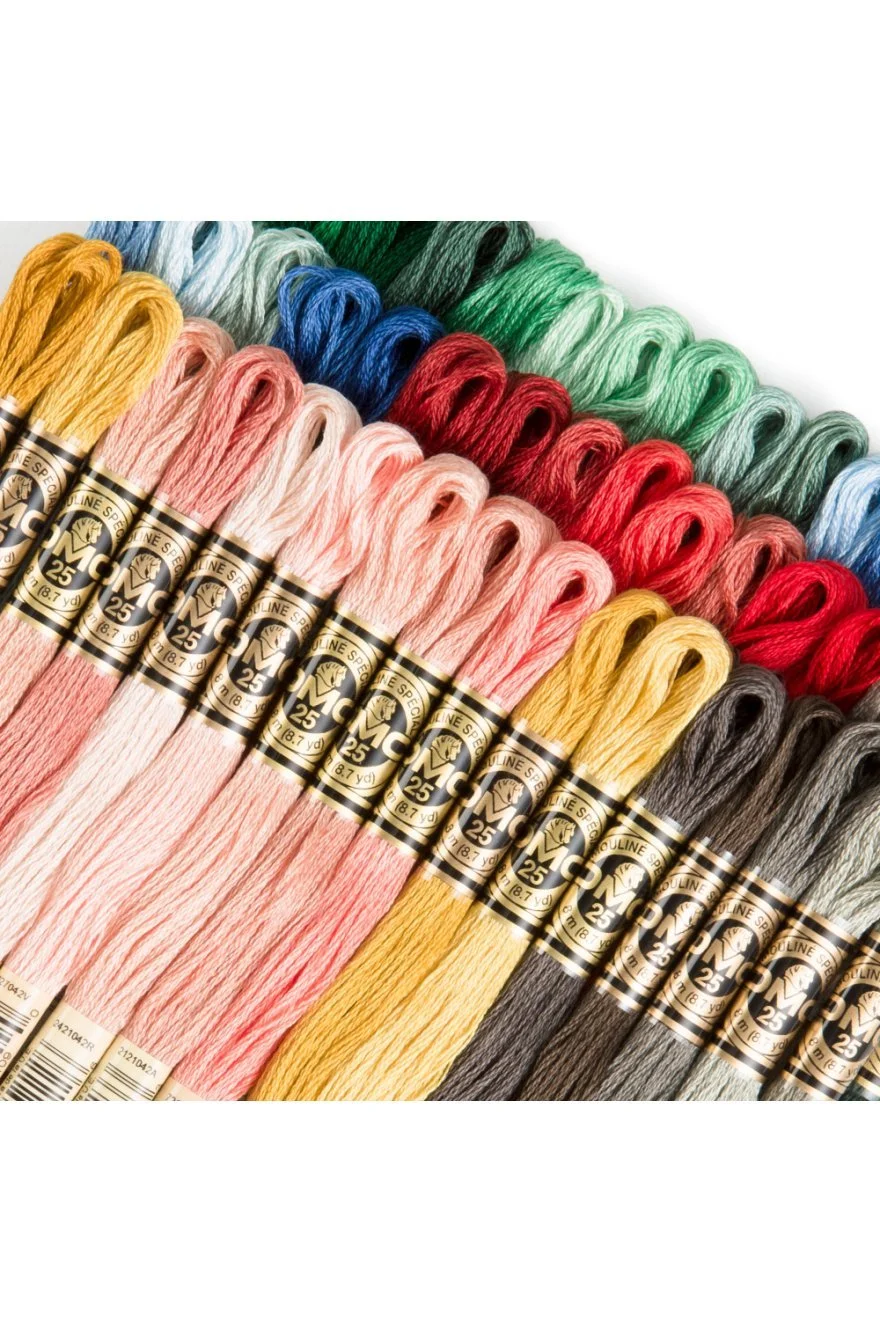
Embroidery floss is a less commonly used option but is also the one with the most flexibility. A six-stranded divisible thread, you can choose exactly how thick you want it to be and has the benefit of allowing you to colour match across different areas if you want to mix and match thread thicknesses.
Remember, just as if you were machine quilting, thread quality is important and you should always use a good quality thread to avoid snagging, fraying and other problems down the line.


Needles
Sharp embroidery or crewel needles are well suited to hand quilting and you just need to adjust the size to your thread thickness. Just as with thread weights, the larger the number the finer the needle is. Here are my recommendations for which needle size to use for which thread weight, but do experiment with different sizes if my recommendation isn’t quite right for you - if you’re struggling to thread the needle you probably want to size up (but remember that will be a lower needle number).
For finer threads such as 40wt or 50wt the best option is a size 7 or 9 needle
For embroidery floss, 8wt and 12wt I usually use a size 7
For 5wt I use a size 5
For 3wt I use a size 1 or 3

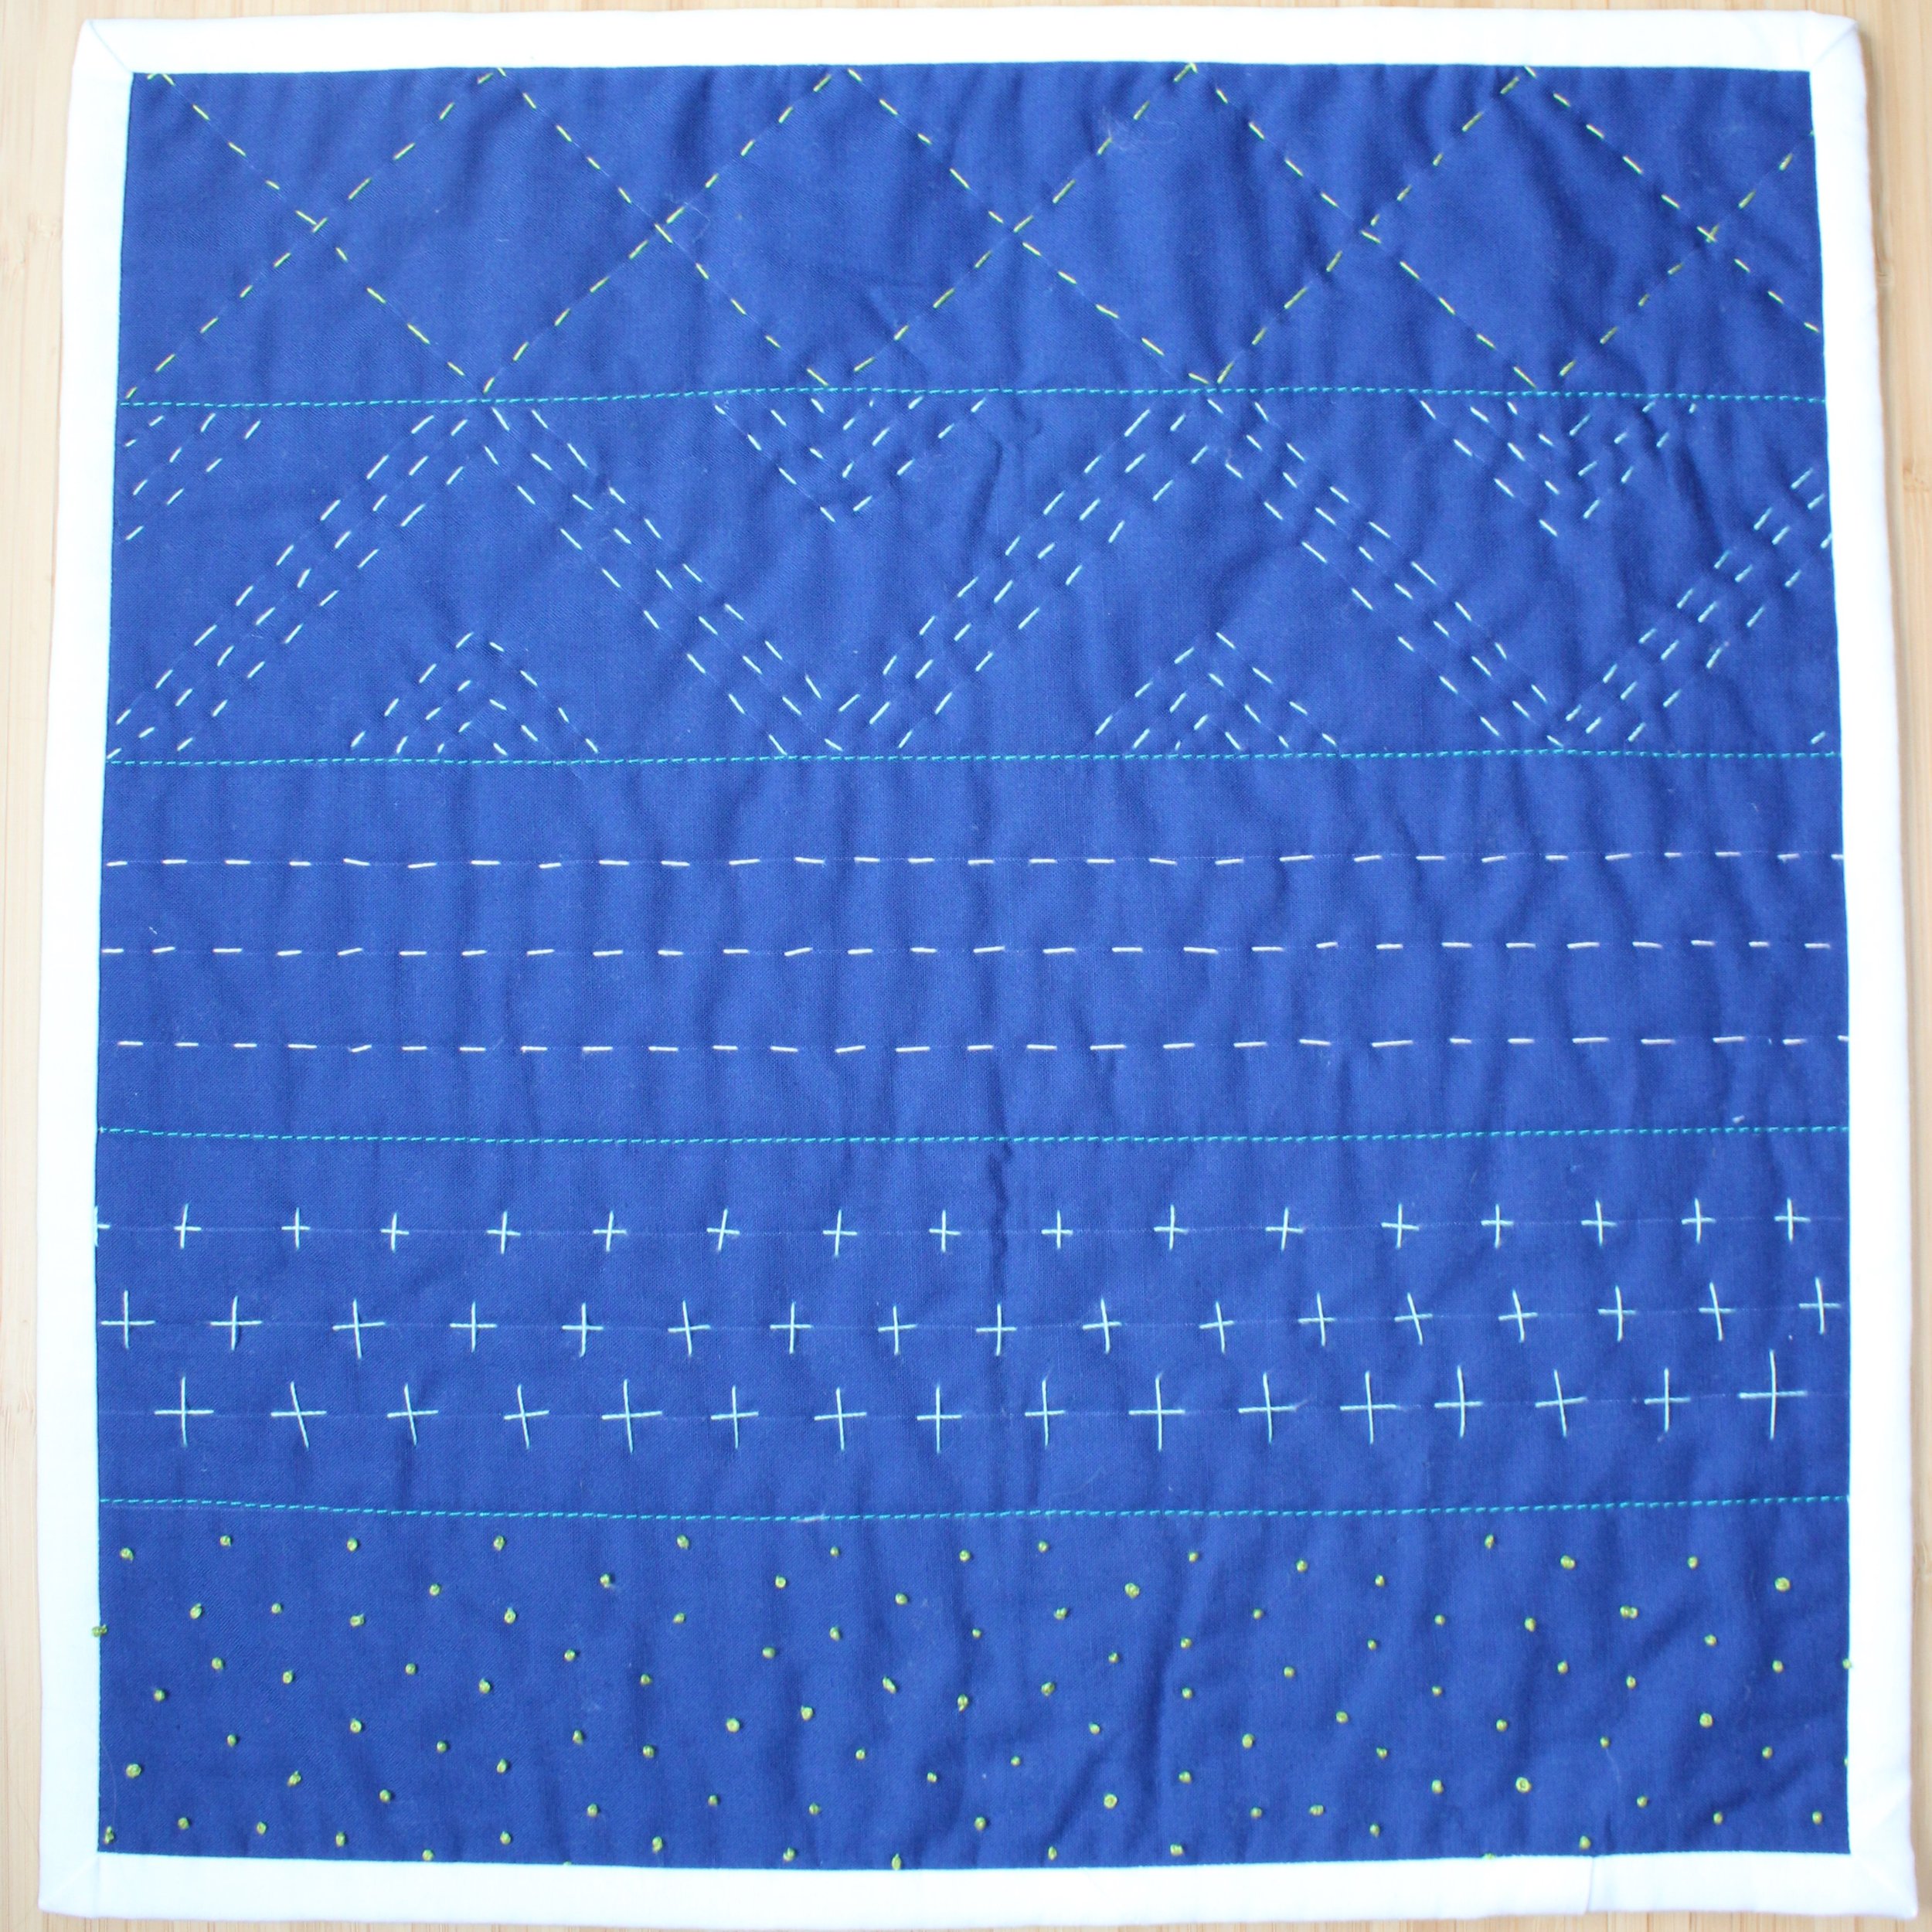
Stitching
The most common stitch used for hand quilting is the running stitch. To do the running stitch, insert your needle from one side of your quilt to the other and ‘run’ the needle and thread up and down. You can either pull your needle all the way through the quilt sandwich with every stitch (good if you want very precise and small stitches) or ‘rock’ it by pushing it part way through the quilt and then moving the sharp point all the way through at the next stitch. Depending on your needle length and quilt thickness you may be able to stack a few stitches at a time using the rocking method which results in faster stitching.
When making your stitches, aim for:
Even spacing between stitches - 1/8” to 1/4” is the most common but experiment to find a rhythm that works for you
Regular stitch size - 1/8” to 1/4” is the most common length as it is better for the structure of your quilt to have more small stitches than fewer large stitches. Smaller stitches are also less likely to snag when the quilt is used by pets and children and ruin your hard work!
When you first start hand quilting you might notice that the stitches on the back of your quilt aren’t as even as the front - don’t worry, this happens to everyone! Try adjusting the angle of the needle as it goes through the quilt sandwich and keep practicing - it will get easier, I promise.
Don’t feel restricted to running stitch though - the world is your oyster! Any embroidery stitch can be used and often add a whole new level to the texture of your quilt - just be wary of what the back of the stitch looks like (unless it’s a cushion cover or wall hanging where the back isn’t going to be on show!).


Hiding your knots
The easiest way to hide your knots is to insert the needle between the layers within your binding allowance (usually 1/4” to 1/2”), tuck the knot into the batting and trim the tail. The only works if you’re able to use a single length of thread for the whole row though! Most often your quilt will be too wide, you’ll want to change colour or your thread snaps and you need to hide knots in the middle of a quilt.
To start in the middle of the quilt:
Make a simple knot at the end of your thread and insert the needle between your quilt layers around 1/2” from where you want to start the first stitch and bring the point up at the point you want your first stitch to begin
Gently tug the knot through the top layer of fabric so that it ‘pop’s into the batting layer. Don’t worry if you accidentally pull it all the way through, just start again! If it’s being a bit stubborn (most common with thicker threads), just keep gently tugging and easing the fabric around the thread until it’s hidden
To finish in the middle of the quilt:
Make a simple knot around 1/4” (or just over your stitch length) from the fabric before you insert the needle to make the final stitch
Insert the needle at the end of your final stitch and instead of going all the way through the quilt sandwich, keep it in the batting layer and bring it up at least 1” from the stitch, gently pull the knot through to finish the stitch and trim the tail


Have you tried it yet? Share your thoughts in the comments below!